2025 - My Sharpening Approach


My sharpening approach has changed over the years. I believe I have tried nearly every approach from grit pastes on granite or glass plates, sandpaper for various grits, freehand, honing guides, Tormek's, Slow speed and normal speed grinders, specialty paper grinders like Worksharp and probably a few I'm forgetting.
All methods have positives and negatives. My personal advice to new sharpeners is to pick as single method and stick with it for at least 2 years. This gives you insight into how sharpening works and knowledge about what works for you (and it may not be my method). I do, in general recommend, skipping the "Scary Sharp" or sandpaper method because I feel that it winds up costing more than other methods in consumables. The method works but is expensive.
My method is nearly identical to Christopher Schwarz (Lost Art Press) approach. He has a book and a video series called "Sharpen This" which is well worth the cost as he covers sharpening nearly every kind of edge that needs to be sharpened.
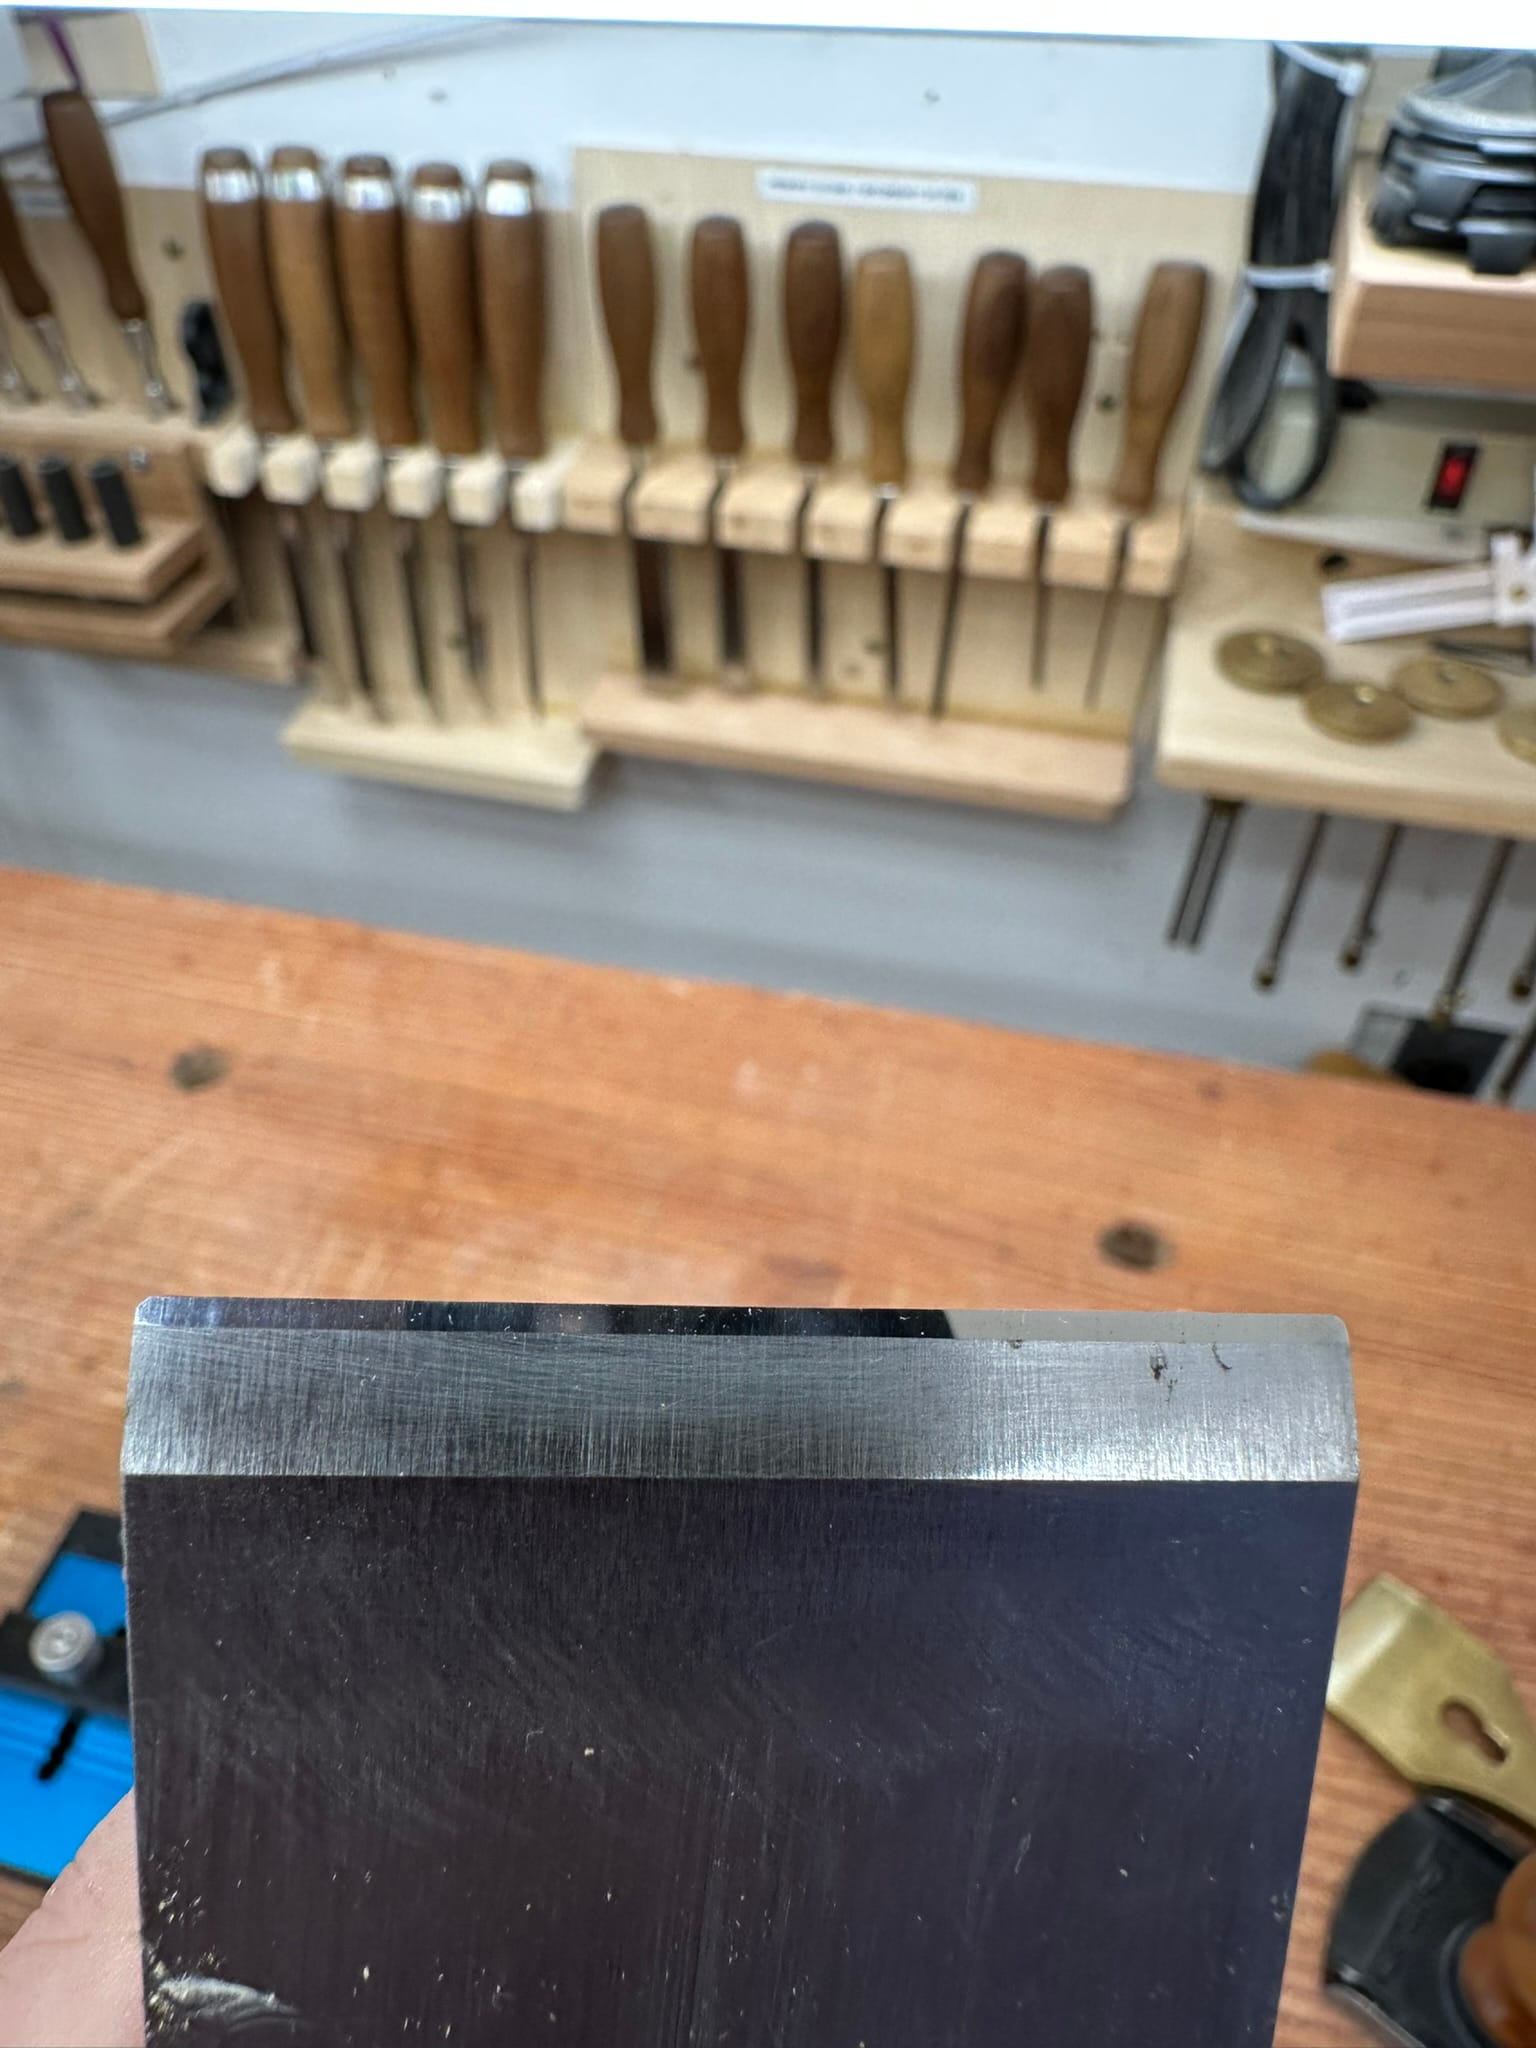
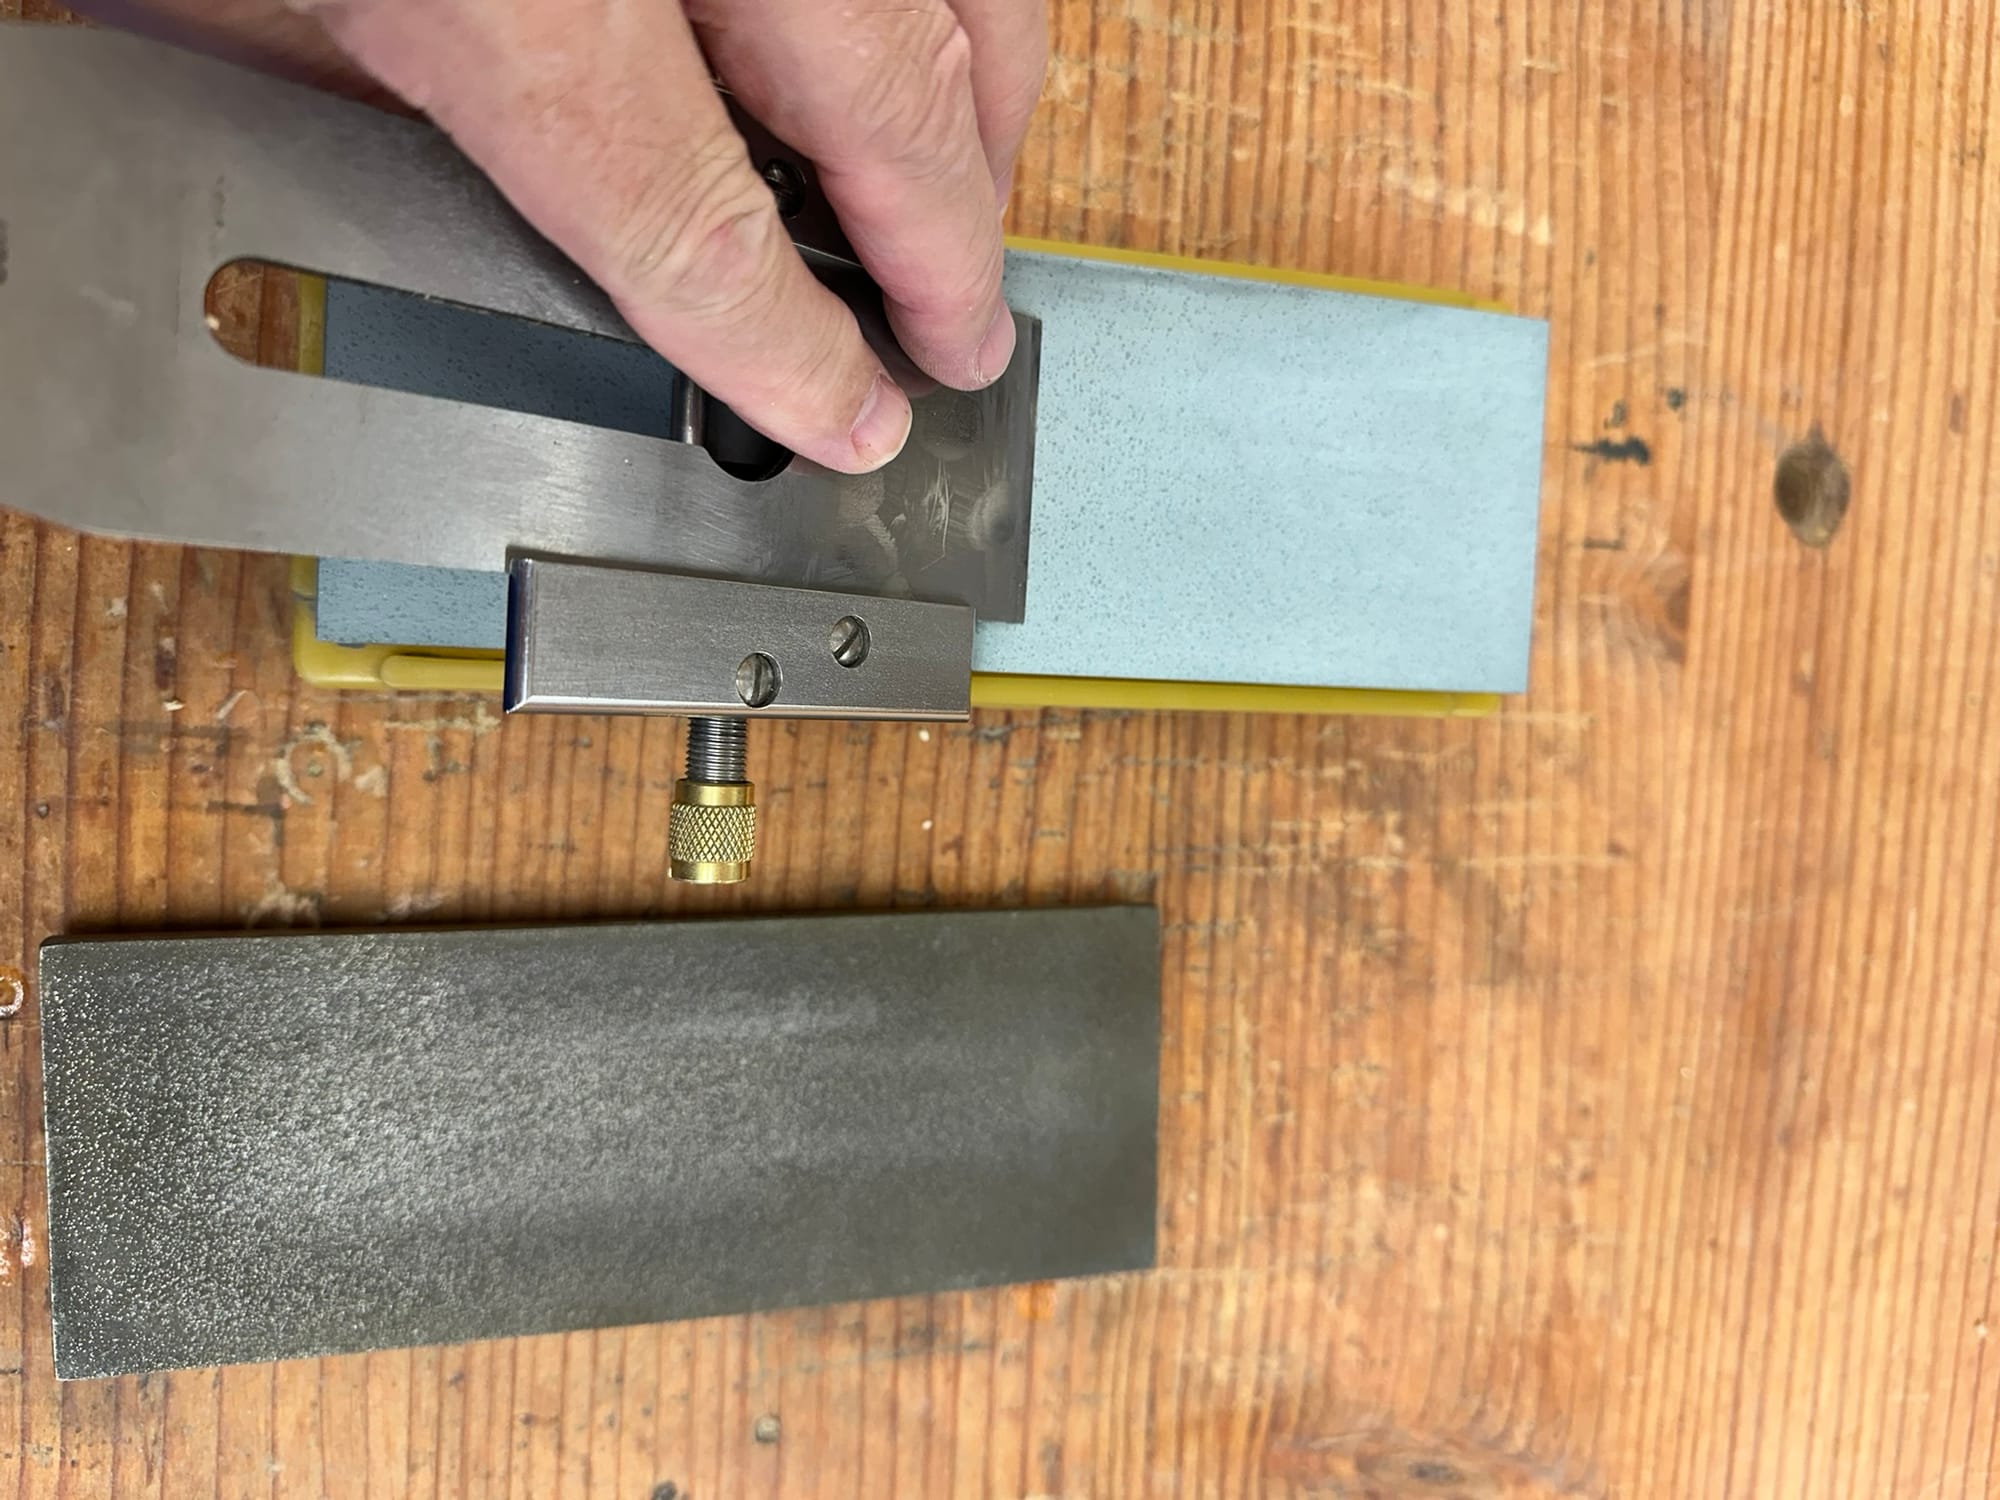
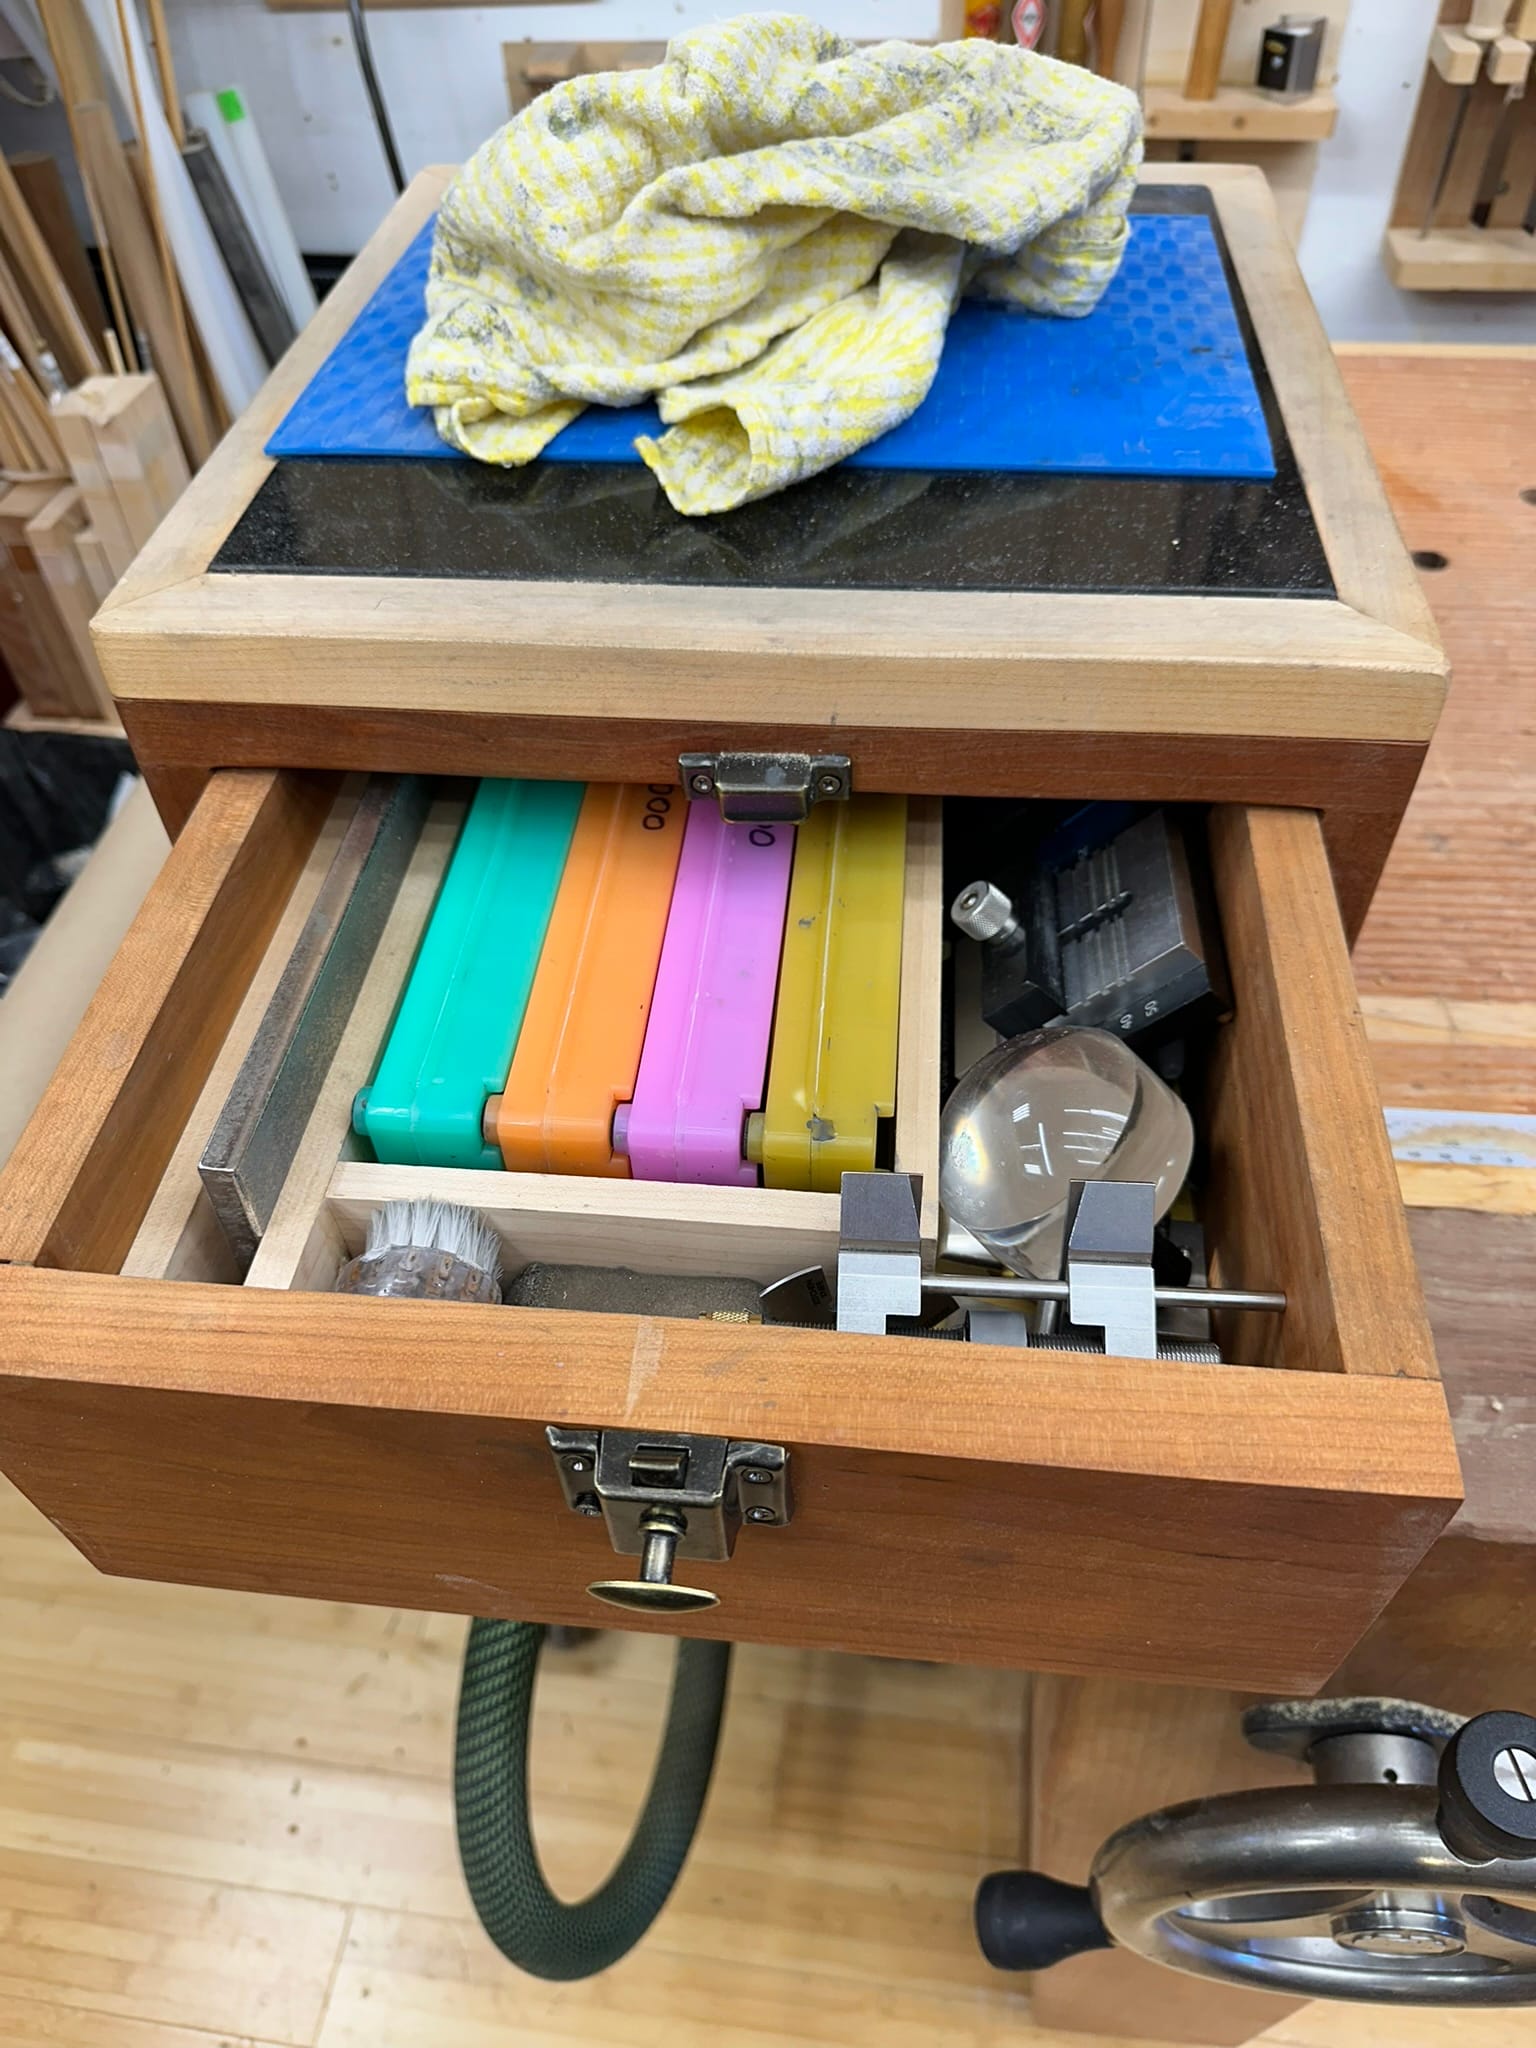
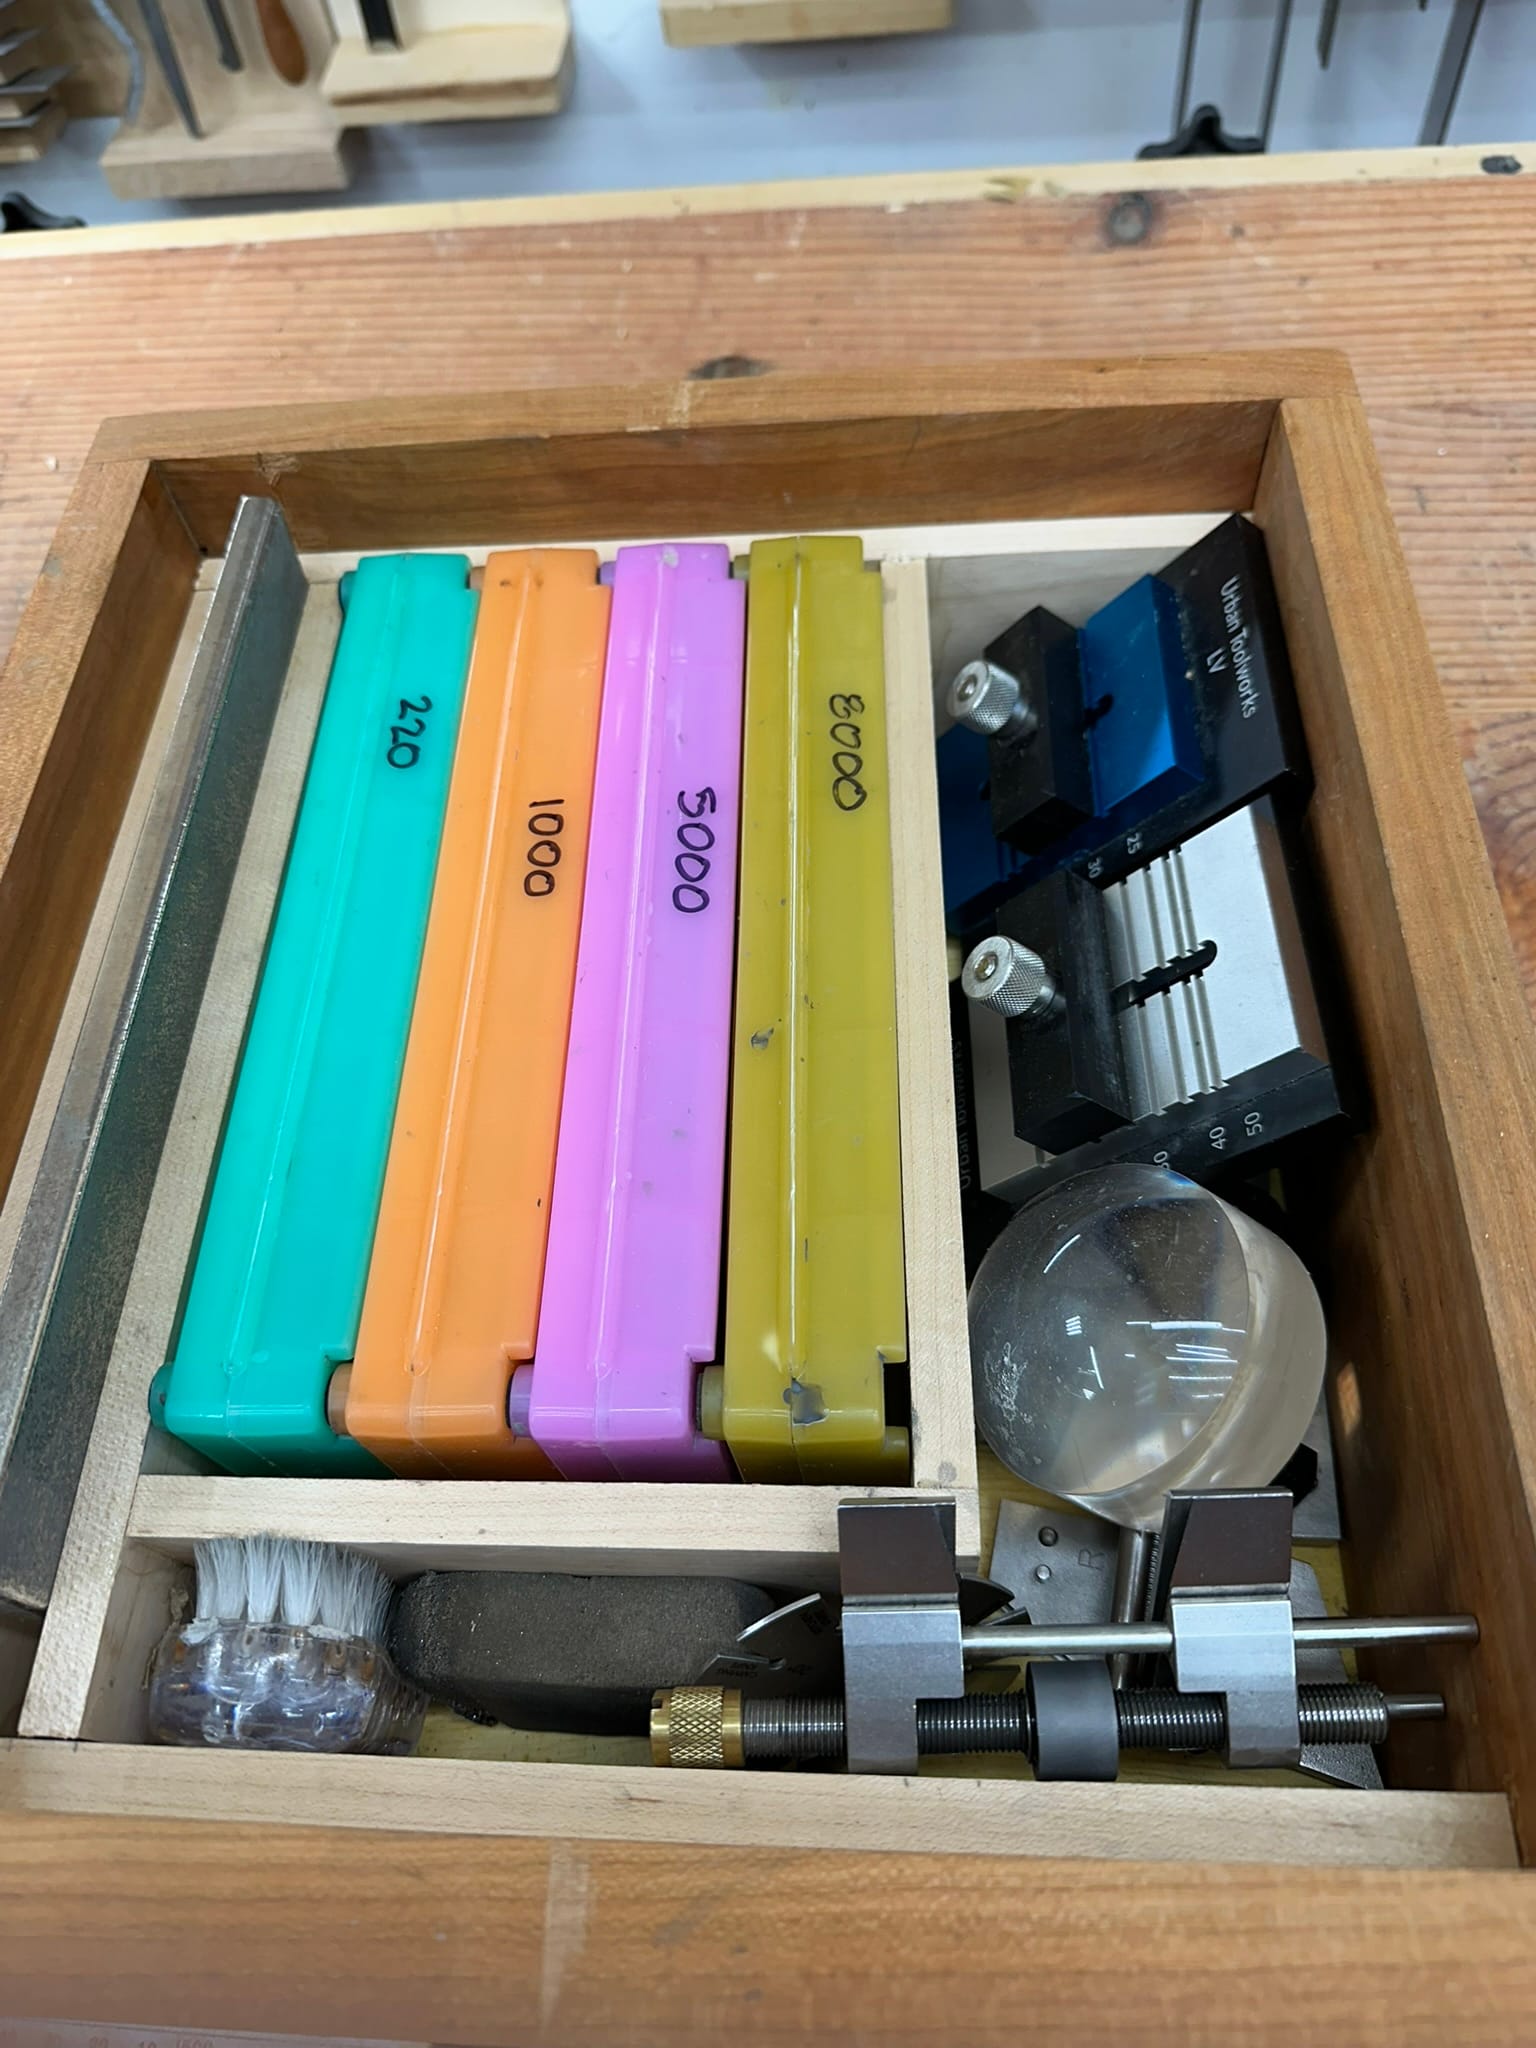
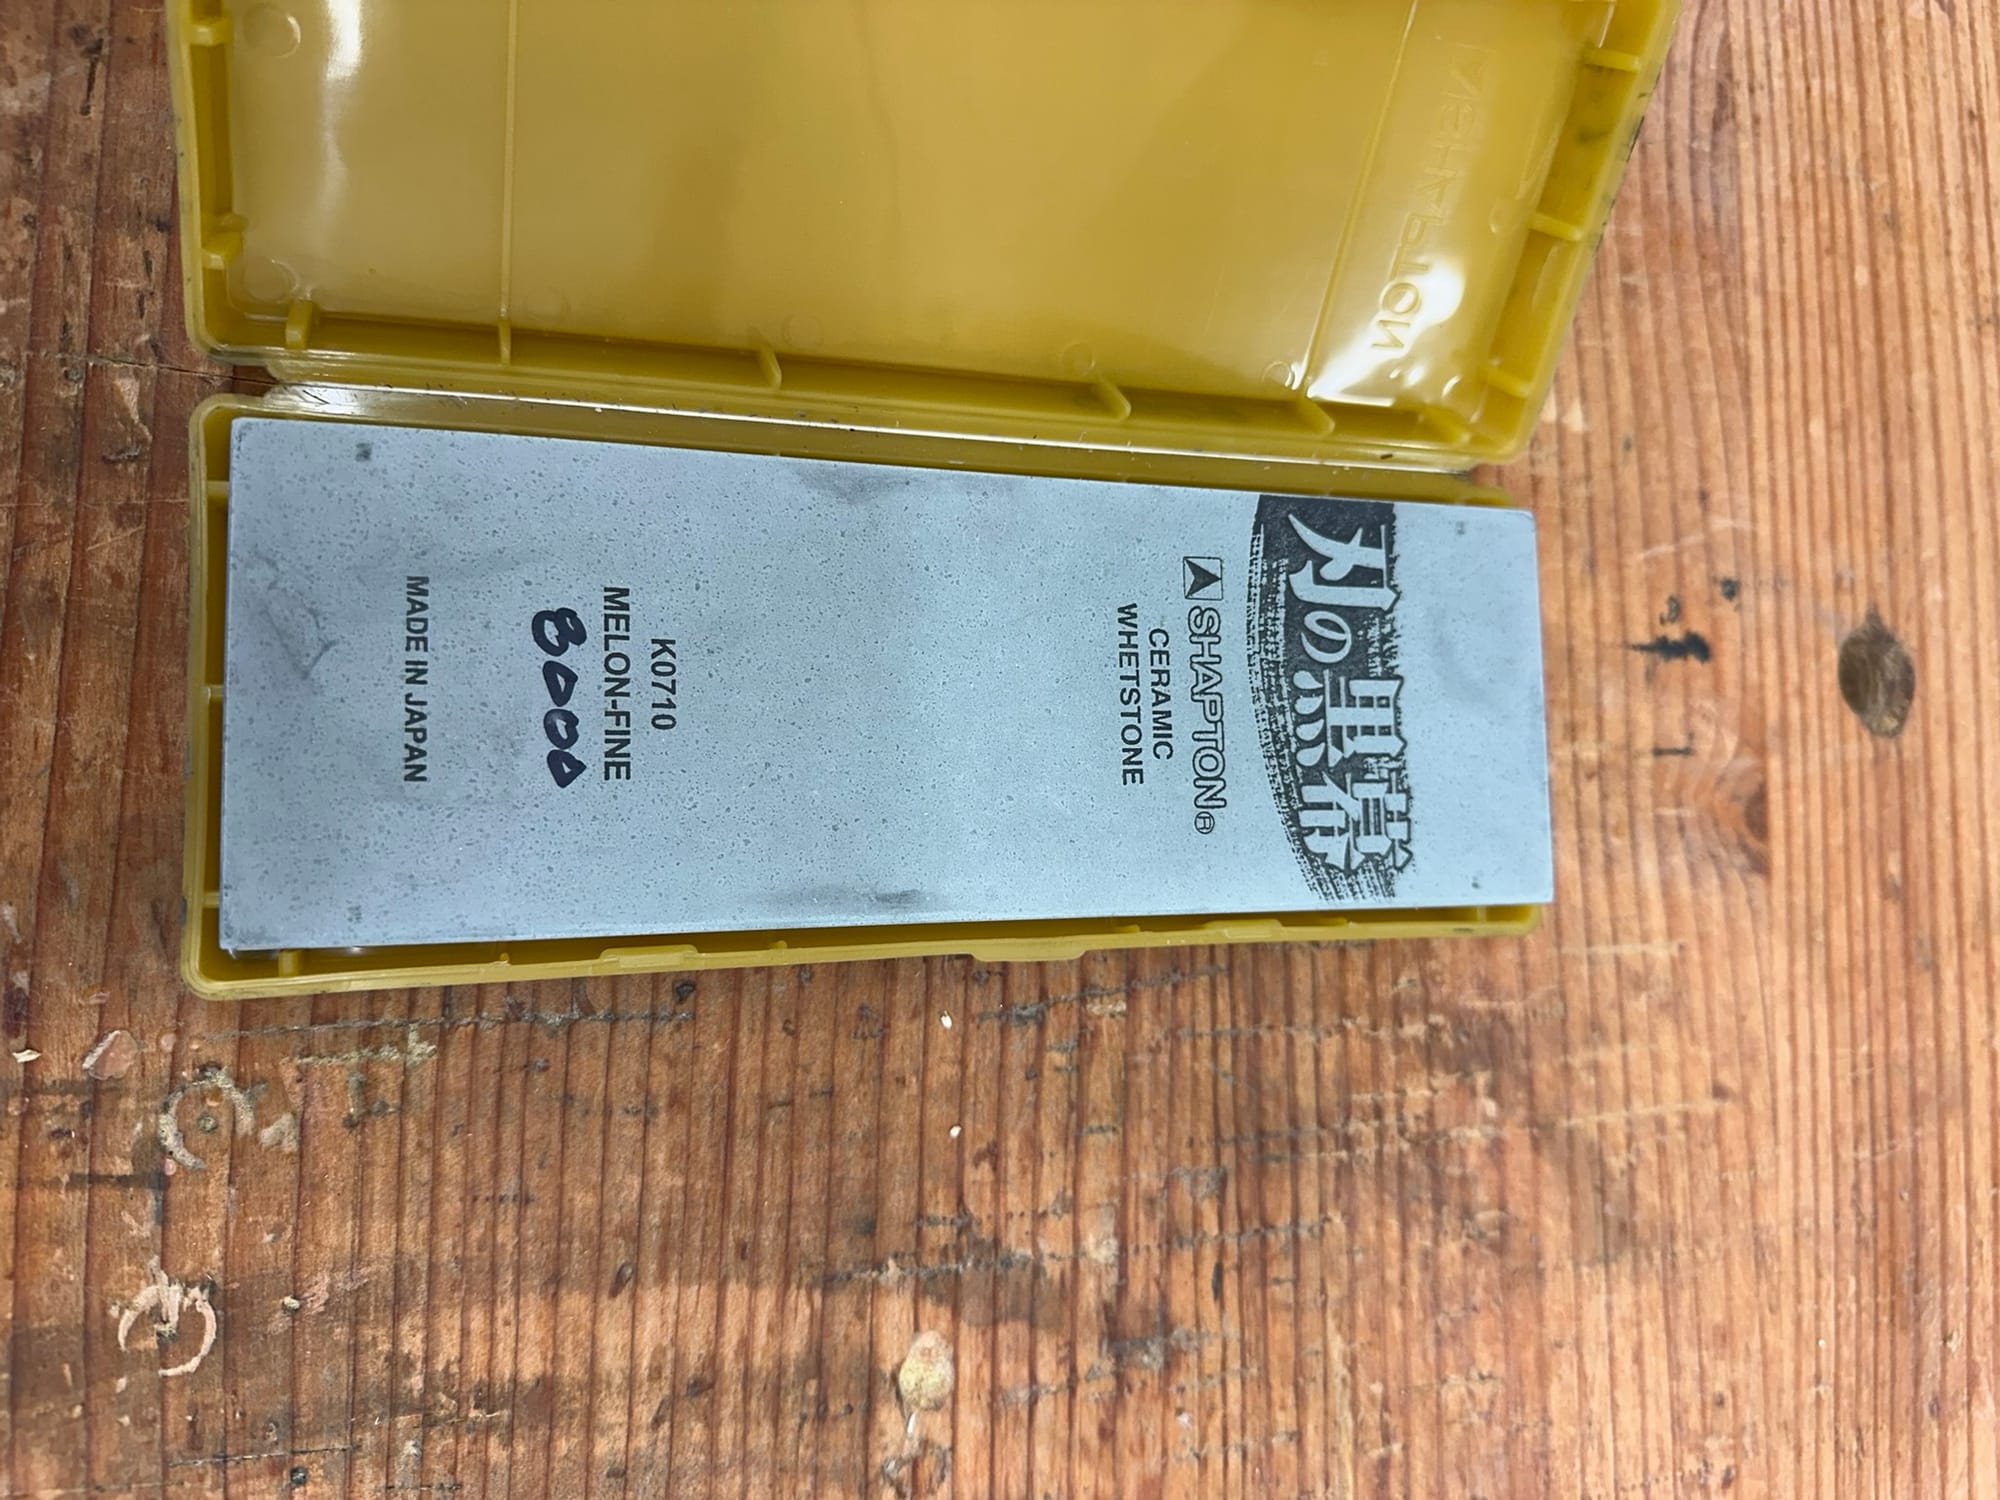
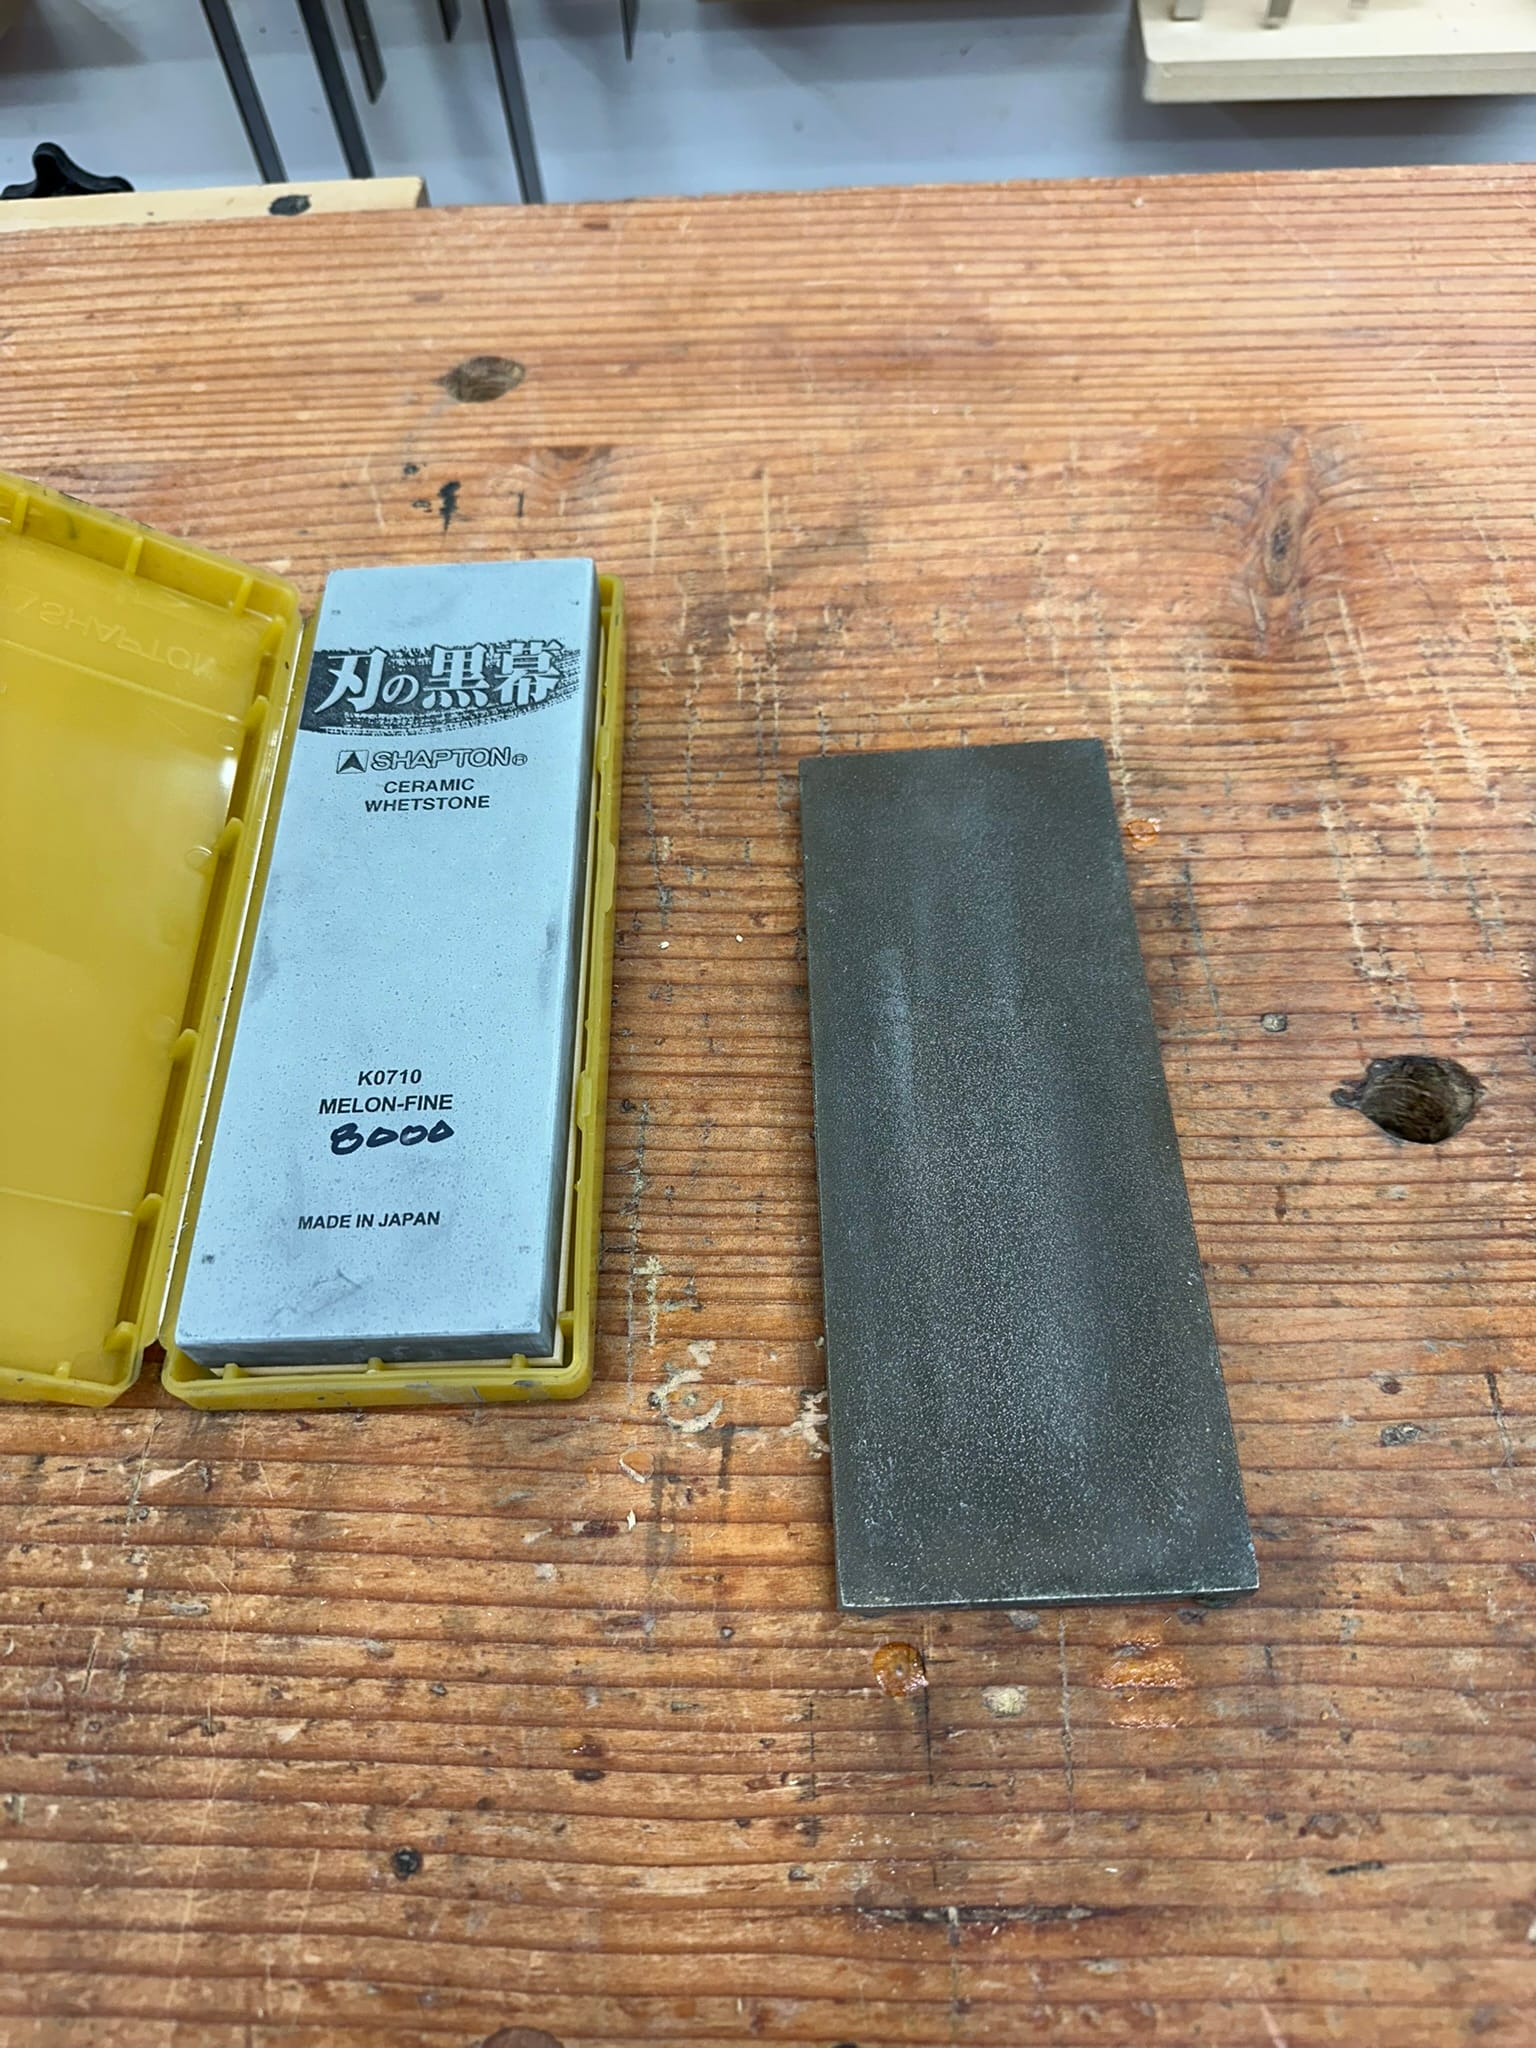
To summarize my method, I require something very coarse to deal with establishing a primary bevel (I mostly use a slow grinder, but you can use a very coarse diamond stone though the work will be more time consuming). For the secondary bevel, I often jump right to the finest stone I have (usually about 8000 grit). Sometimes you need stones in between but much of the work can be done with those 2 stones (very coarse and super extra fine).
I will only use the very coarse stone to first establish the primary bevel or after many sharpenings of the secondary bevel. If the secondary bevel is at 1/3 of the depth of the primary bevel, then it's time to reset the primary bevel on the grinder or coarse stone.
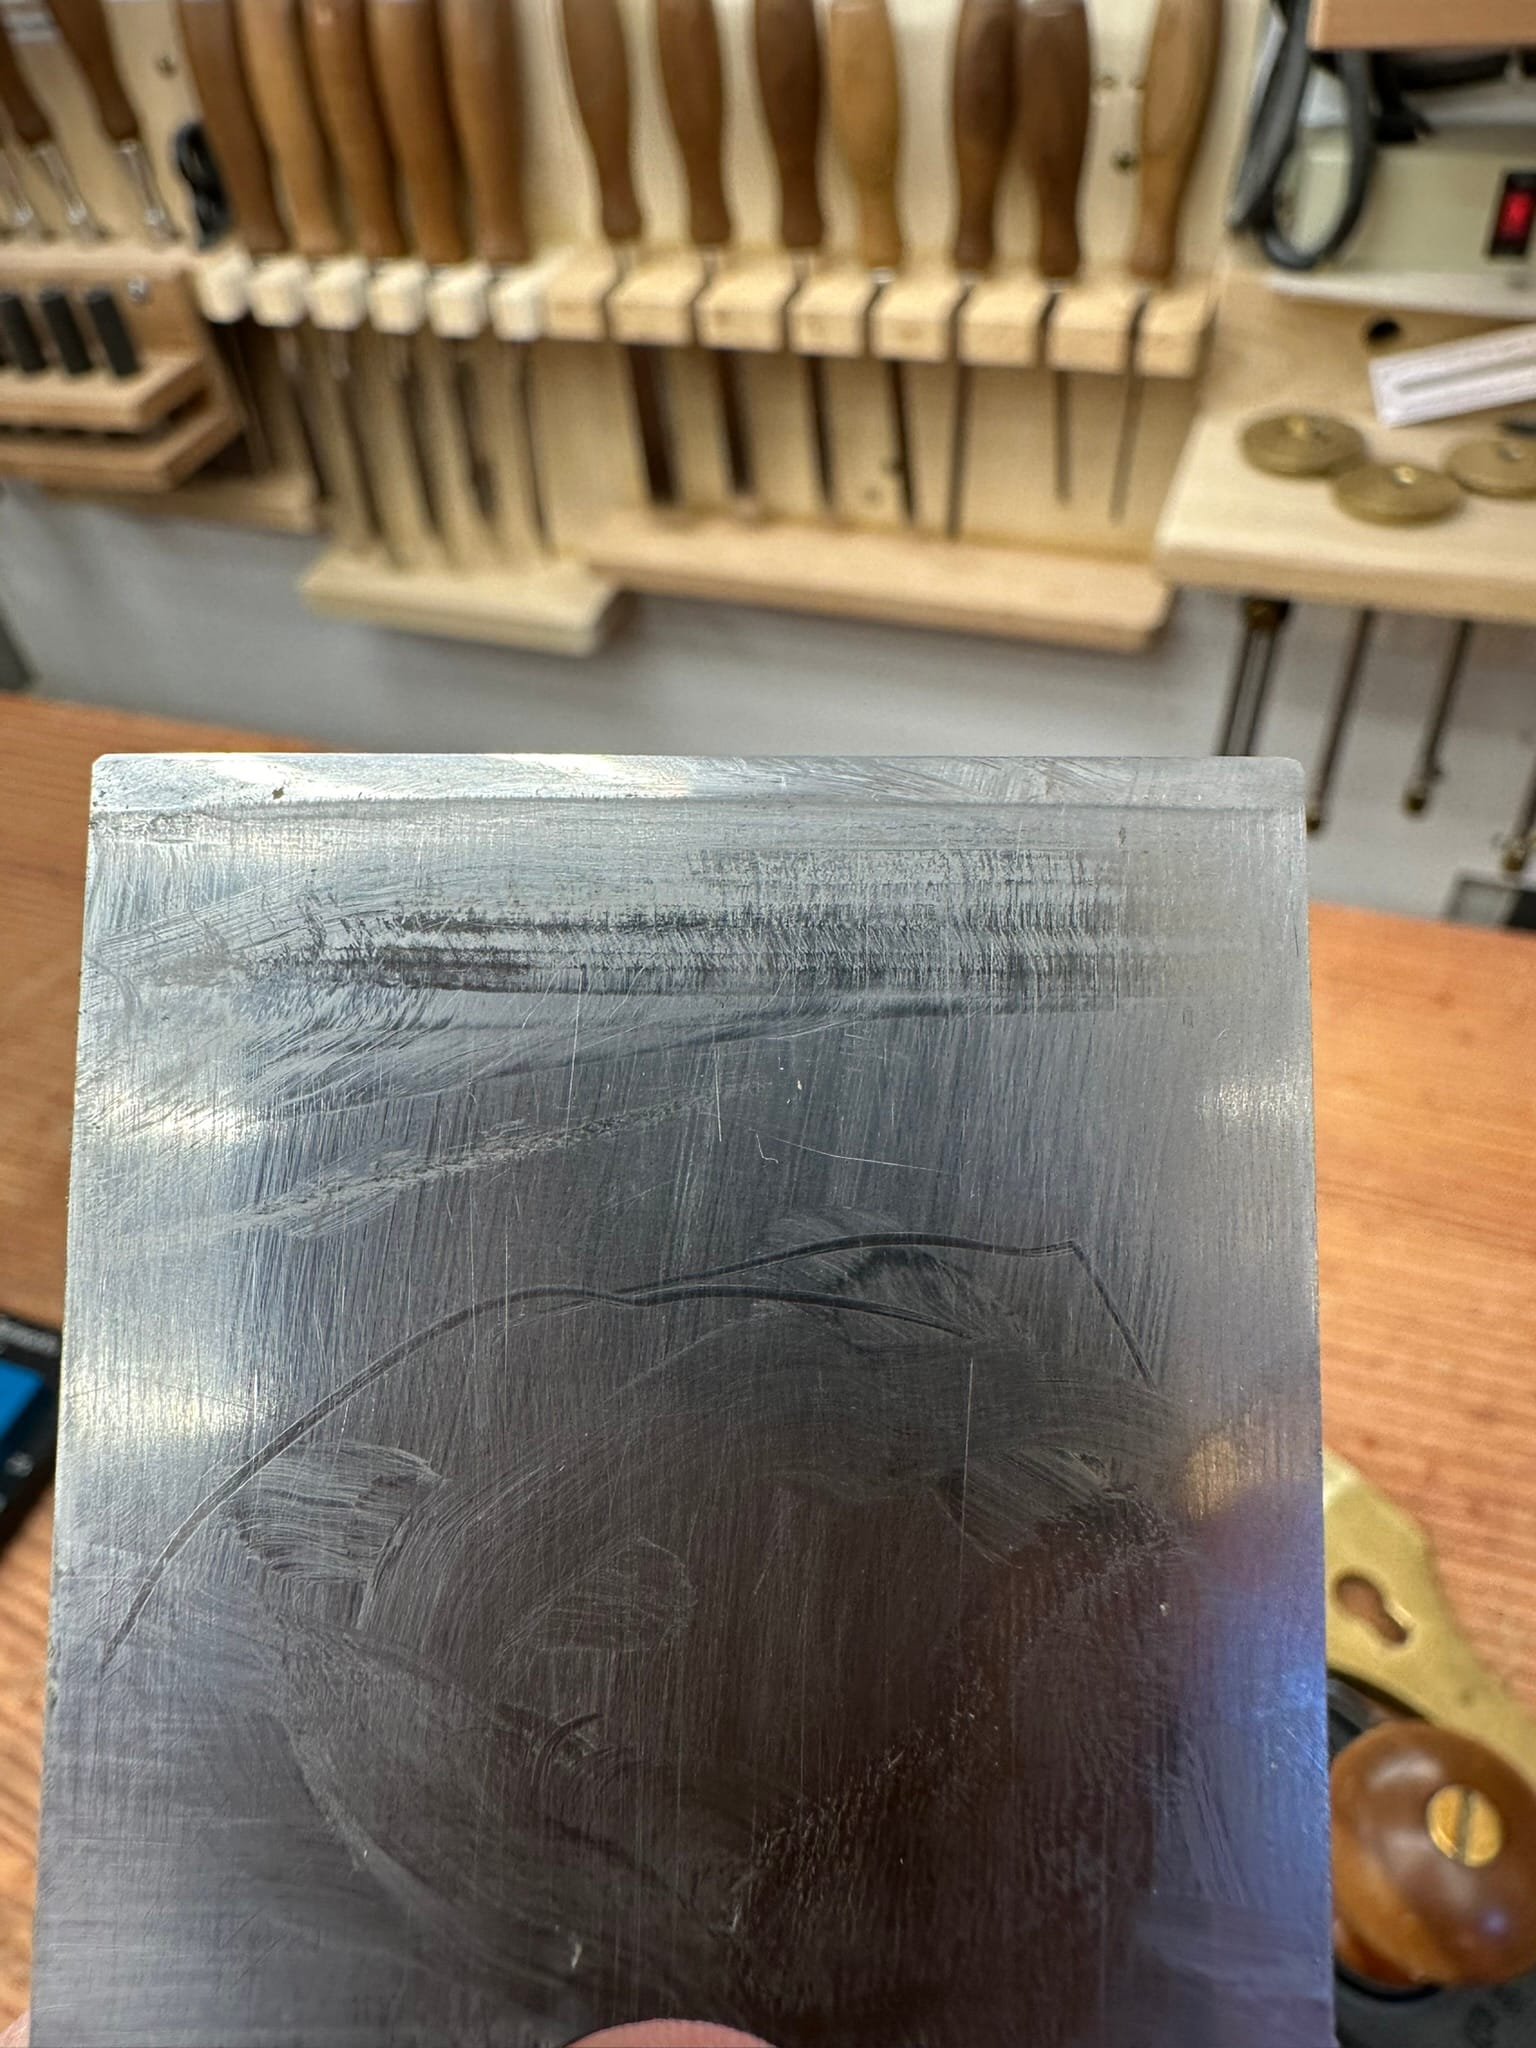
My most controversial element is that I believe in the ruler trick to create a secondary bevel on the back for all my plane and chisel blades (except blades that are dedicated to paring work). This saves so much work and frustration.
I have found that I mostly need to sharpen the tools at the end of a project (so they are ready for the next project). If it is a long, involved project, I will sometimes sharpen a particular blades.
Let's get started.
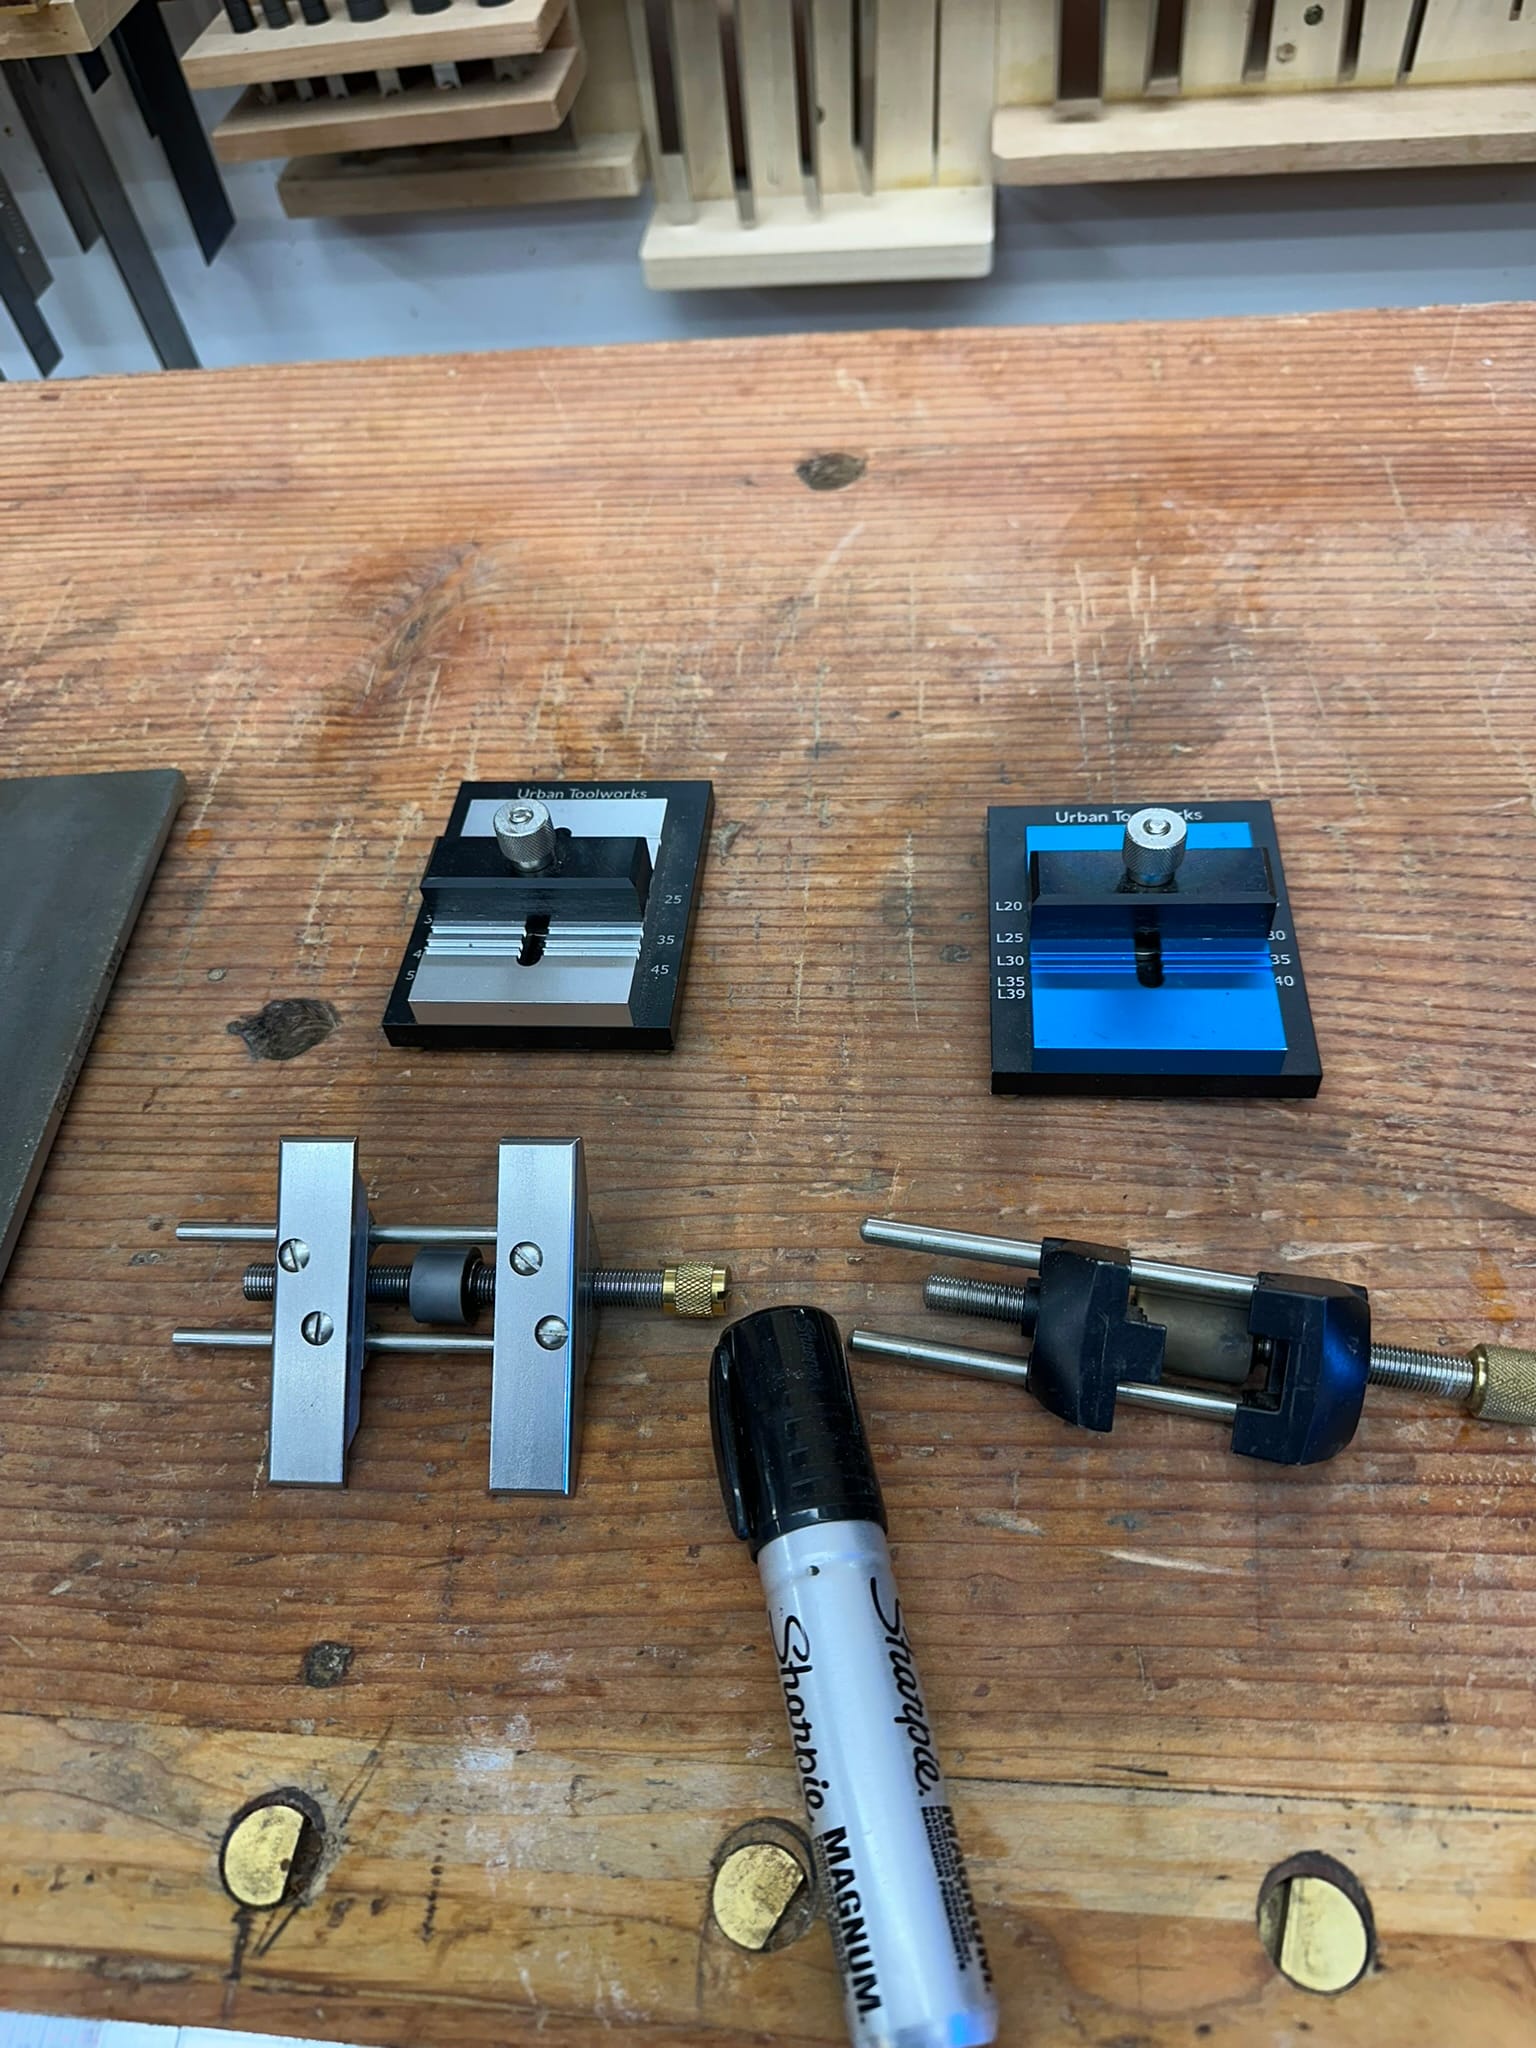
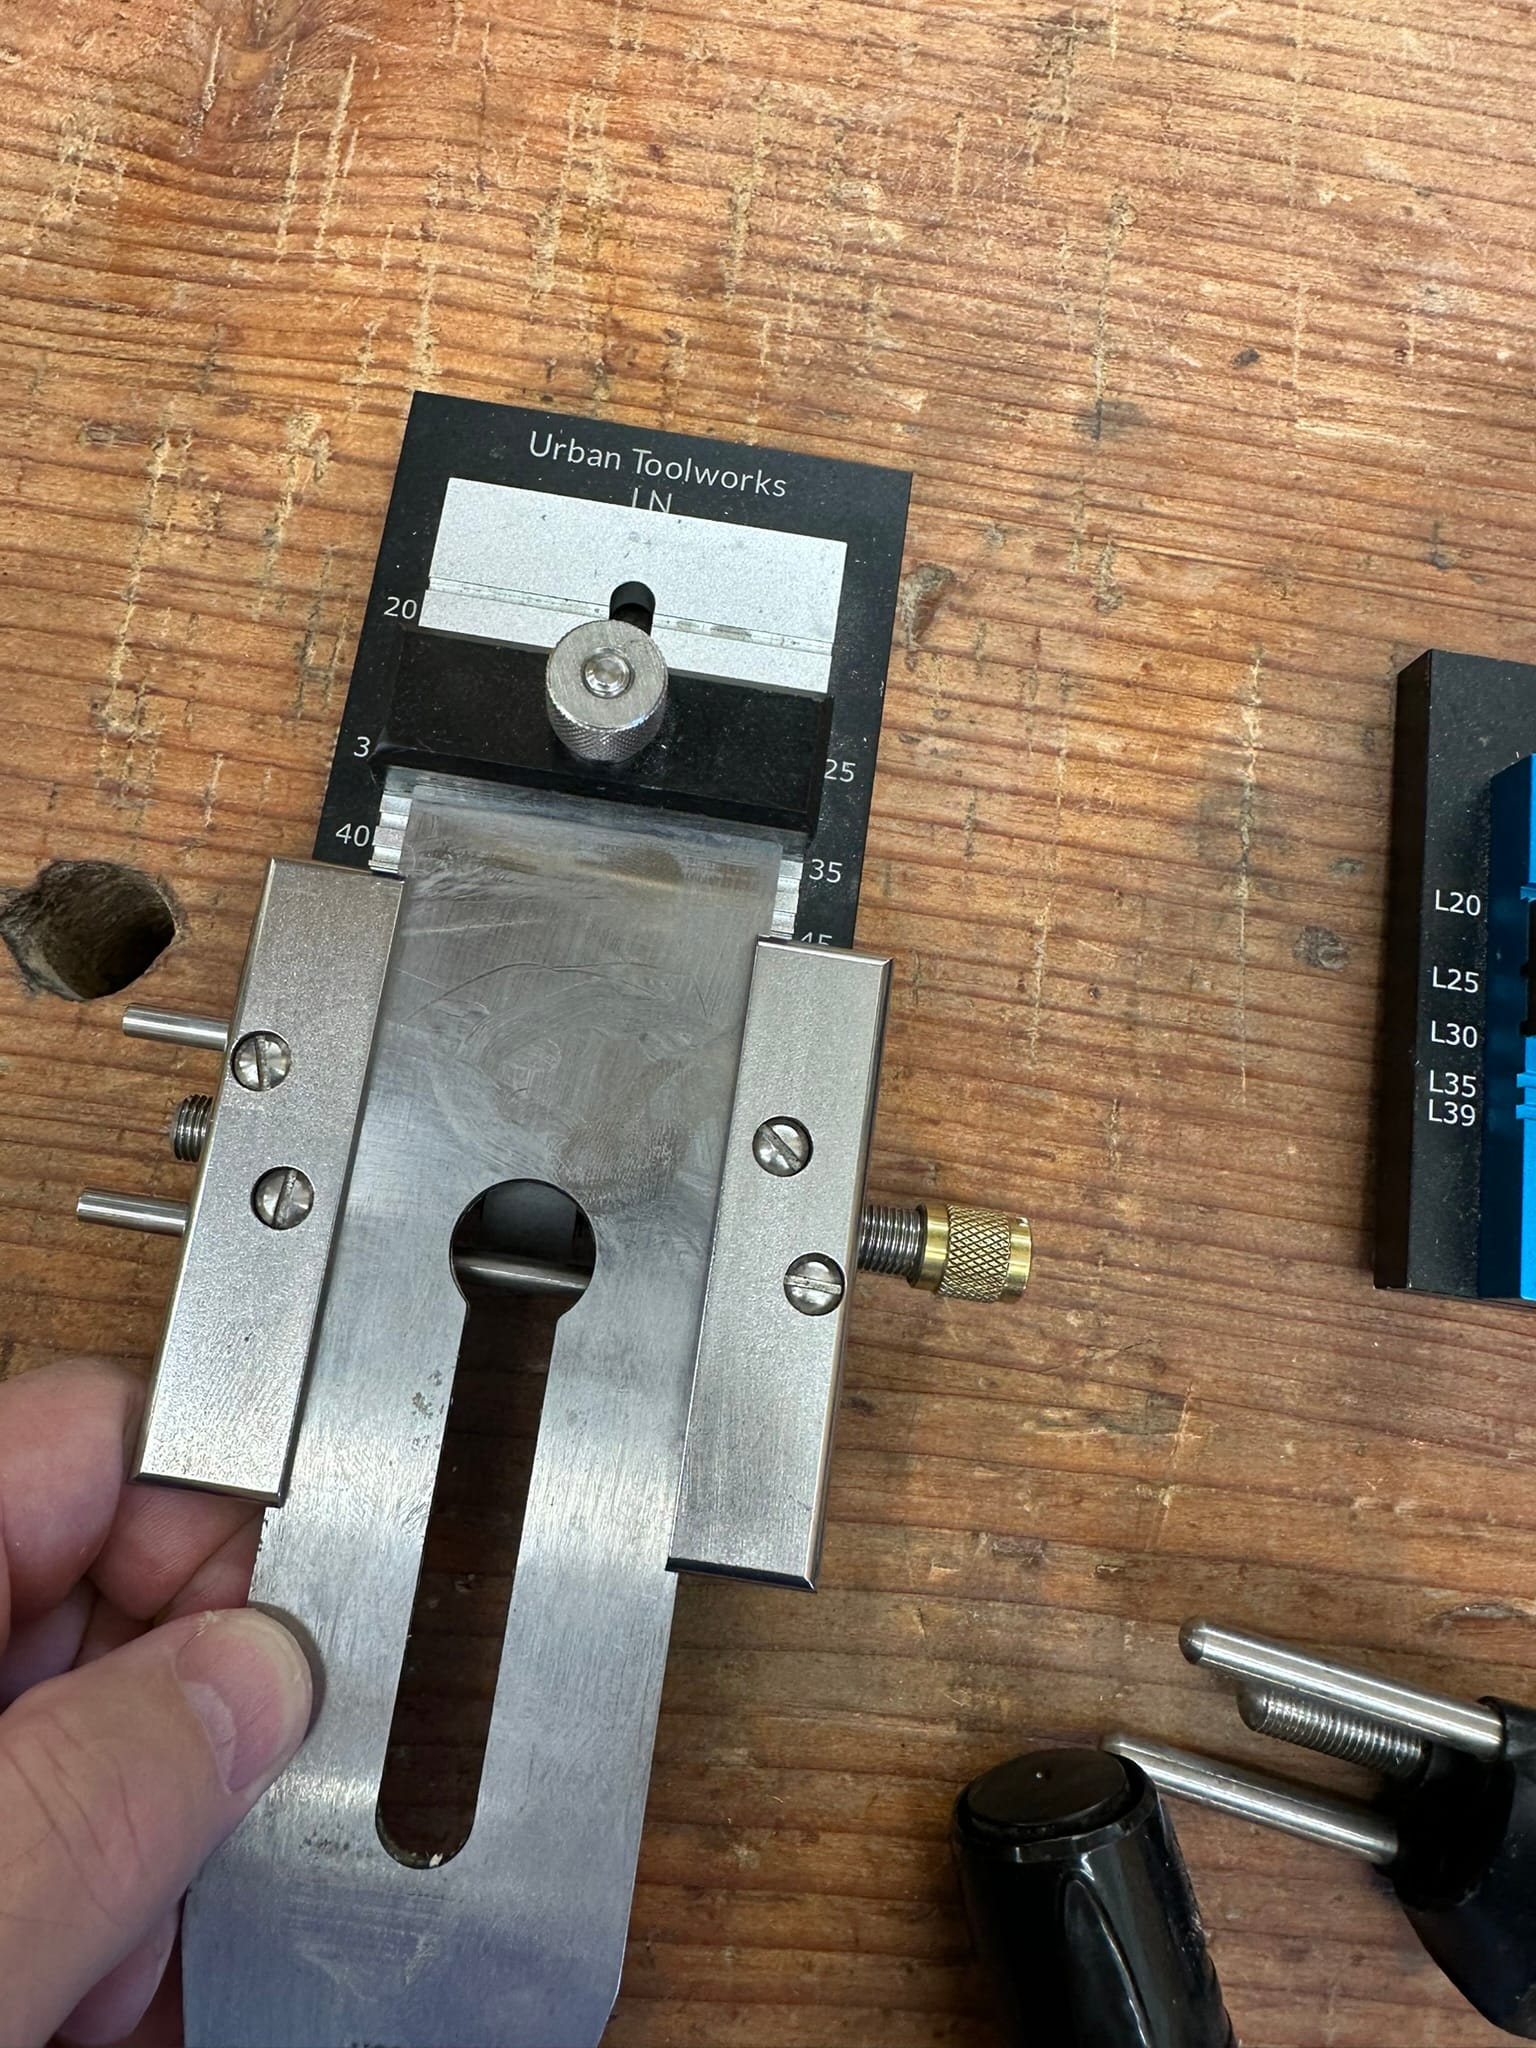
I am a huge believer in the use of honing guides. In teaching, I have had many students (and non-students) show me edges that have been sharpened free-hand and they are almost always awful. The edges are often multi faceted and baffle me how they cut anything. It is possible, if you sharpen a lot, then free hand can work but I don't see saving 30 seconds being worth the risk.